

I have always found that the most effective scary Halloween decorations are the ones that play with shadows and unexpected placements around the house.
They turn ordinary spaces into something unsettling without needing a complete overhaul.
My favorite approach is picking a few bold pieces that catch the eye right away rather than scattering small items everywhere.
This keeps the look intentional and avoids overwhelming the rooms we still use every day.
Scary does not have to mean extreme.
Place A Grim Reaper Skeleton In The Entryway

A tall hooded skeleton figure makes a strong impact right when people walk in. It stands out against the wood and draws attention without needing much else around it. The skulls and black candles on the console add to the effect and keep the look focused.
You can recreate this by starting with one large skeleton figure and placing it near a console or bench. Add a few skulls and dark candles in front of it, then keep the rest of the space simple so the figure stays the main point. This works well in narrow entries or hallways where one big piece can take over the view.
Stand A Tall Ghost By The Fireplace

A tall ghost built from a carved pumpkin head and long ragged fabric makes an immediate impact. The angry carved face and reaching branch arms give it a clear scary presence that works better than scattered smaller pieces.
Set the figure on a low black platform or the hearth and keep the rest of the area simple with just a few pumpkins at the base. This approach works best in living rooms or entry spaces where one large shape can stand out without filling every surface.
Group Skulls Into One Display

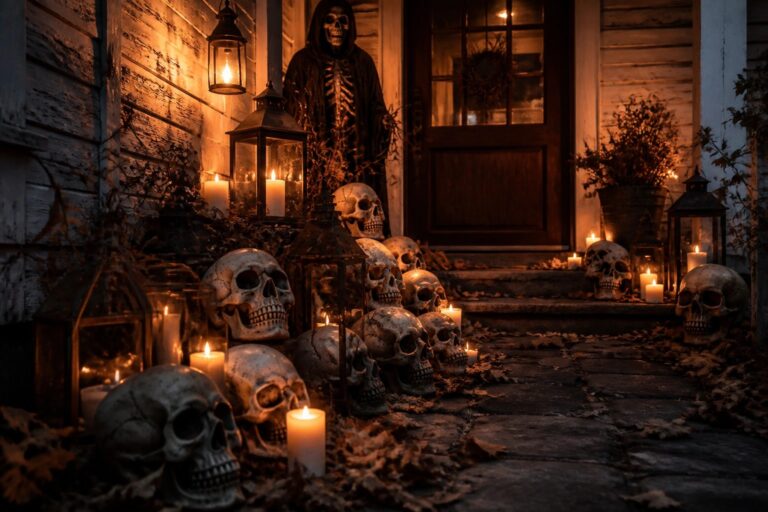
Clustering several skulls together creates a strong Halloween focal point that feels instantly recognizable. The repetition makes the display stand out more than a single skull would, and the addition of a few lit candles keeps the look simple while still reading as scary.
This idea works well on a low surface, crate stack, or corner area where the skulls can sit at different heights. Use four to six skulls at most so the group stays tight and does not spread into clutter, then add a couple of small pumpkins and candles around the edges to tie everything in.
Group Skeletons And Jack O Lanterns On A Table
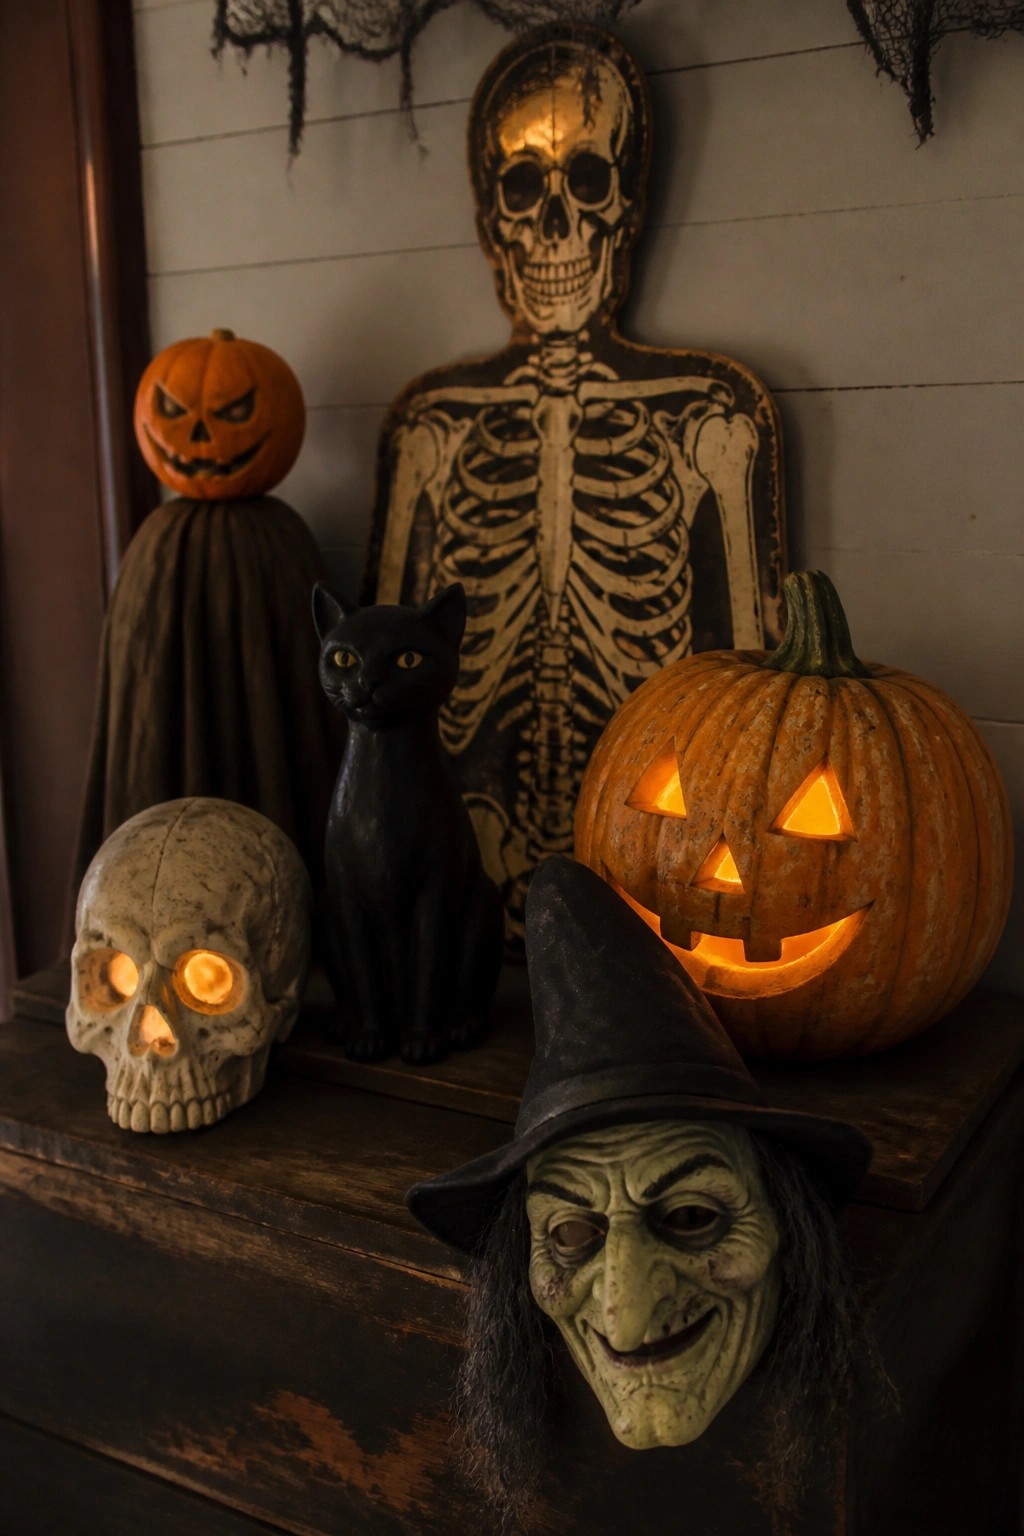
Clustering a skeleton cutout, glowing pumpkins, and a few skulls together on one surface makes a simple but effective scary display. The mix of lit faces and bony figures draws the eye right away and feels more intentional than spreading the same pieces around the room.
Place the grouping on a console, sideboard, or entry table where people will see it up close. Keep the rest of the surface fairly clear so the Halloween pieces stay the main focus instead of getting lost among other items.
Position Hooded Skeletons At The Entry

Hooded skeleton figures draped in black fabric make a strong Halloween statement when placed right at the front entrance. The tall standing figure against the wall draws the eye first, while the seated one on the ledge adds a grounded presence that feels more unsettling than scattered smaller props.
Use two or three of these figures along steps or against an exterior wall, then fill in with black pumpkins and a few lanterns for support. Keep the rest of the entry simple so the skeletons stay the clear focal point.
Display A Skull On Stacked Books
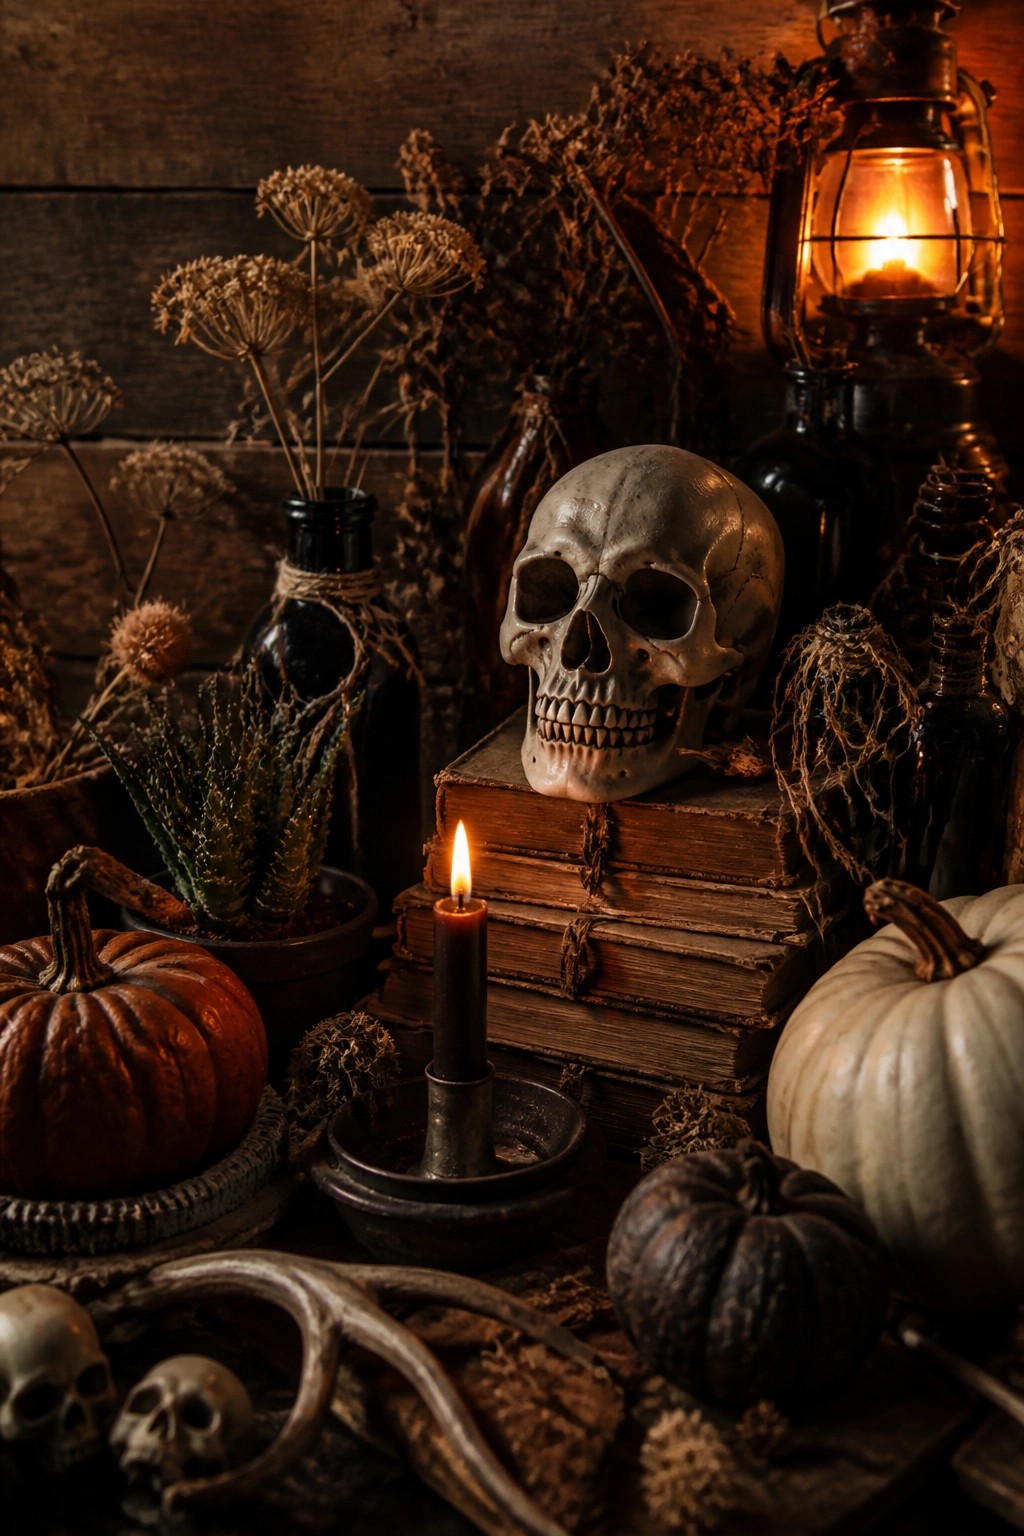
A skull resting on a pile of old books creates a simple but effective Halloween focal point. The single black candle burning in front makes the setup feel more deliberate and a little unsettling.
You can recreate this on a side table, console, or shelf. Use one skull, two or three books, and a dark candle. Keep the surrounding area fairly empty so the arrangement stays easy to notice.
Fill A Mantel With Skeletons And Skulls

Clustering skeletons and skulls across a mantel creates one of the quickest ways to make a room feel properly scary for Halloween. The piled skulls, hanging cobwebs, and witch figure in the center turn an ordinary surface into the main focal point without needing much else in the room.
Start with a few larger skeleton pieces and fill in the gaps with smaller skulls and bones. Add some black cobwebs and a couple of candles so the display stays visible at night. Keep the rest of the room simple so the mantel does the work.
Line The Staircase With Jack O Lanterns And Skulls
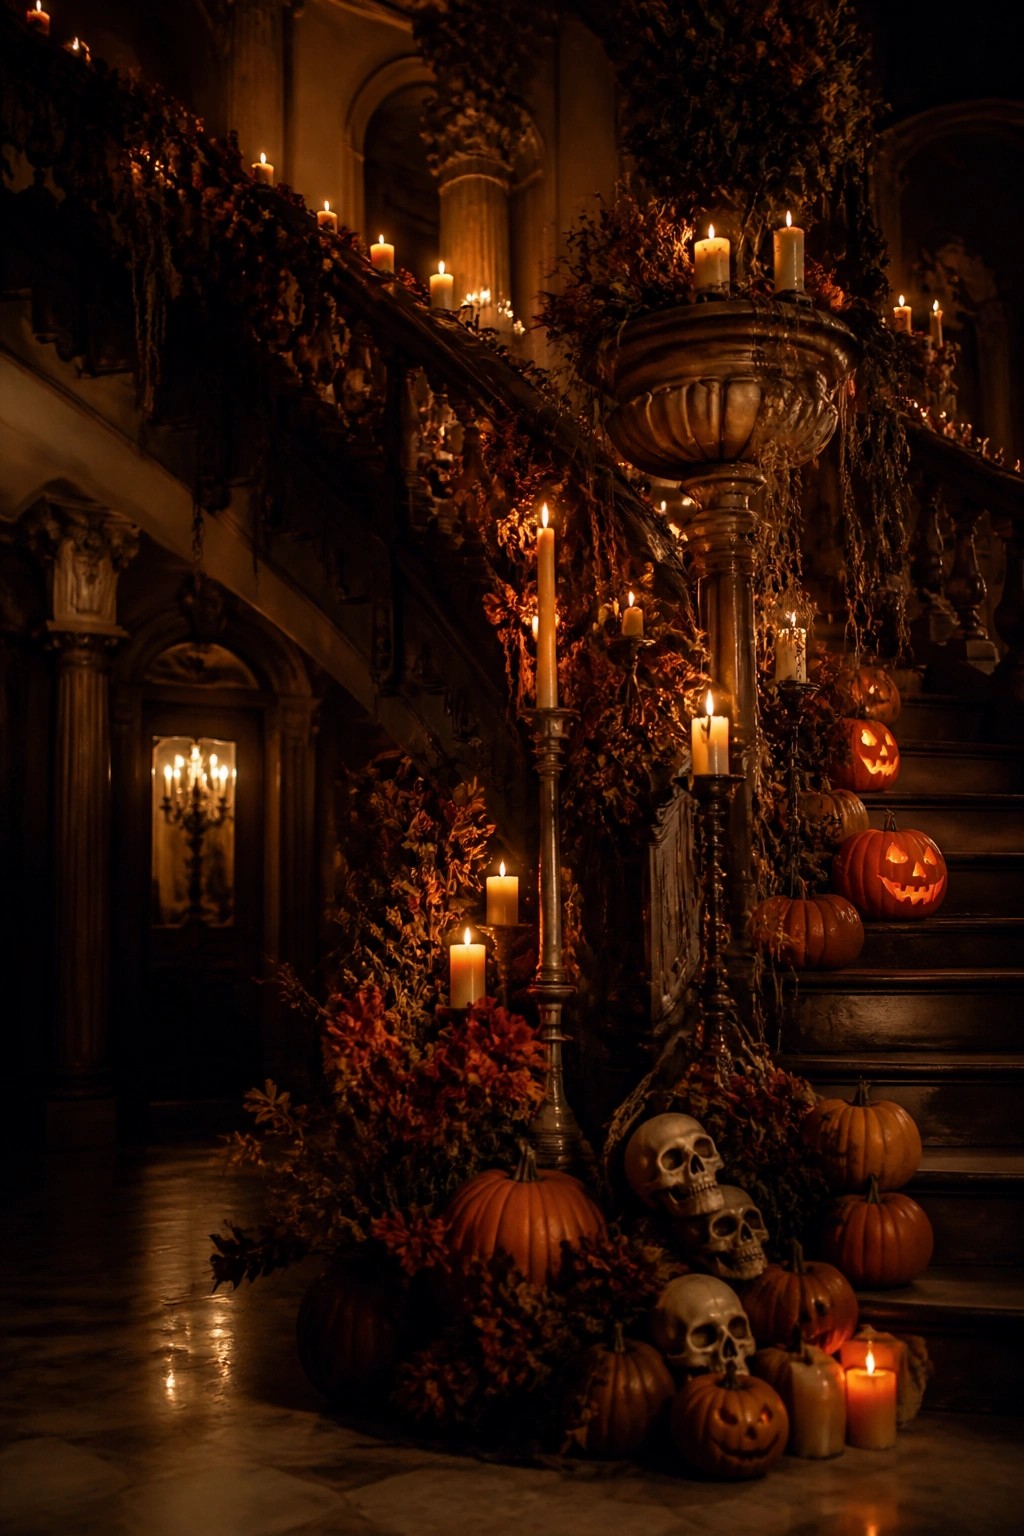
A staircase makes a strong Halloween statement when you line the steps with carved jack o lanterns and cluster skulls at the base. The glowing faces stand out against the dark wood and draw the eye upward, while the skulls add a direct creepy touch that feels more deliberate than scattered pumpkins alone.
Start with a few larger pumpkins on the lower steps and add smaller ones higher up. Place two or three skulls near the bottom among the pumpkins, then add tall candles in between for extra light. Keep the rest of the area simple so the staircase remains the main focus.
Pose Skeletons On The Porch Steps

Skeletons work well when you group several together and give them different poses. The leaning figure, the one reaching forward, and the standing form in the back create a scene that feels active instead of just decorative.
Set three or four skeletons near the steps or door and adjust their arms and heads so they look like they are moving toward visitors. Keep the rest of the porch simple so the figures stay the main focus.
Style Skulls On A Console Table
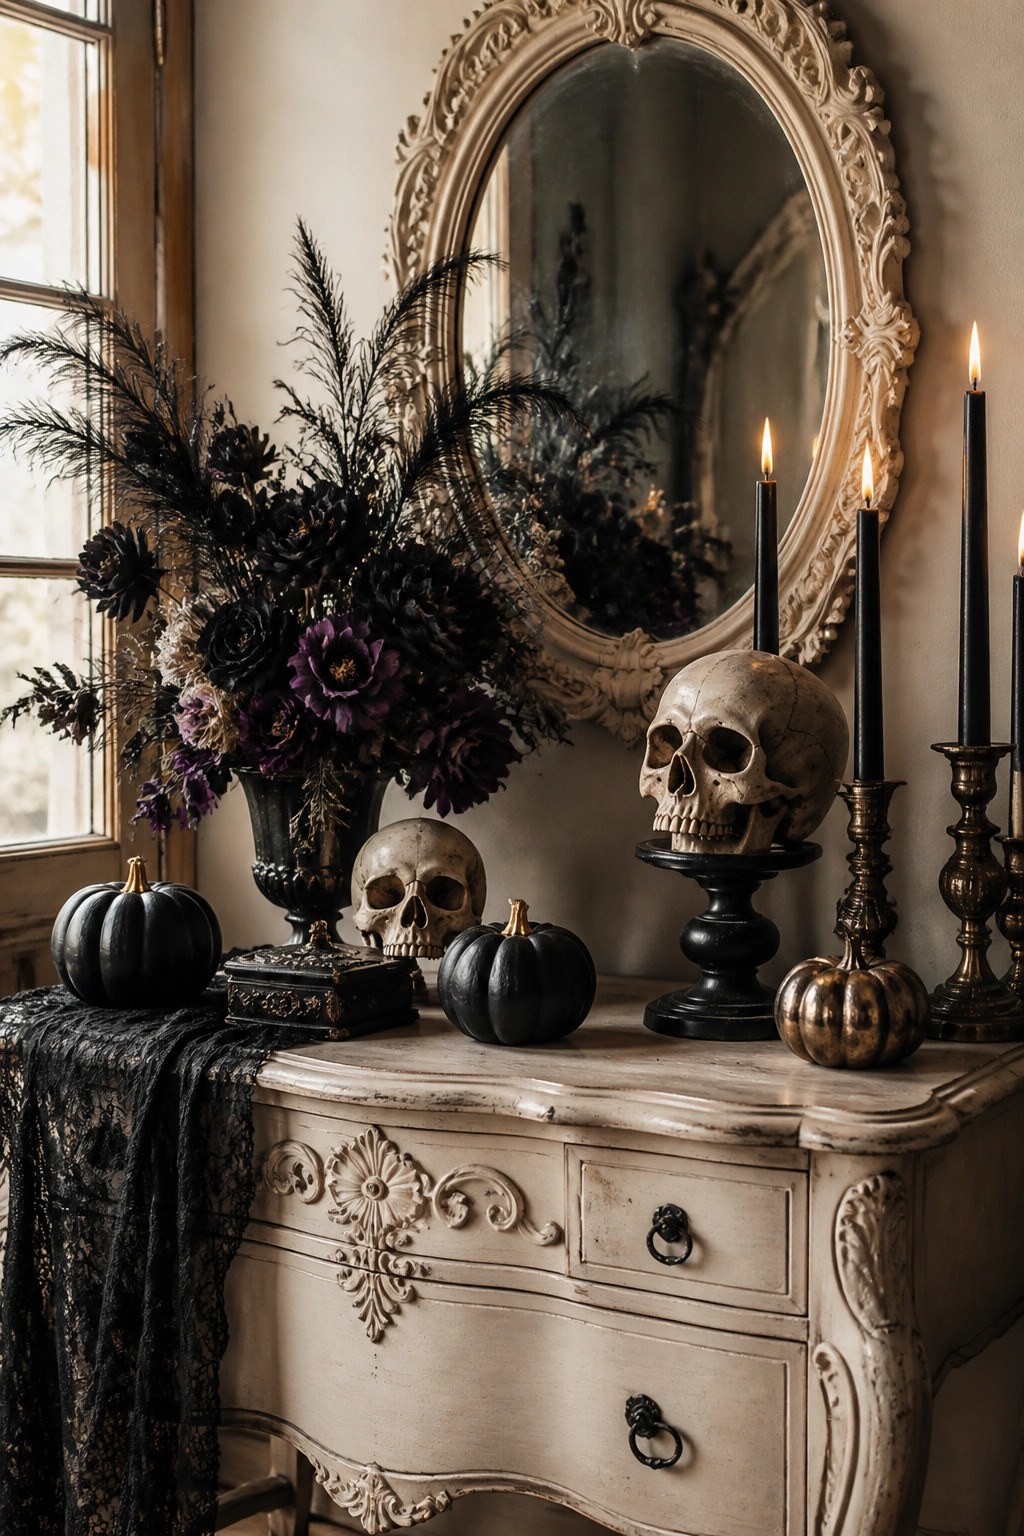
Skulls make an effective focal point for a Halloween console because they read as instantly seasonal without needing much else around them. Placing one or two on stands at different heights draws the eye and gives the arrangement structure while the black candles add height and keep the look cohesive.
This idea works well on any narrow surface near an entry or hallway. Use two or three skulls at most, pair them with dark candles in simple holders, and leave the rest of the surface fairly open so the skulls stay the main feature.
Create A Skull Filled Halloween Mantel
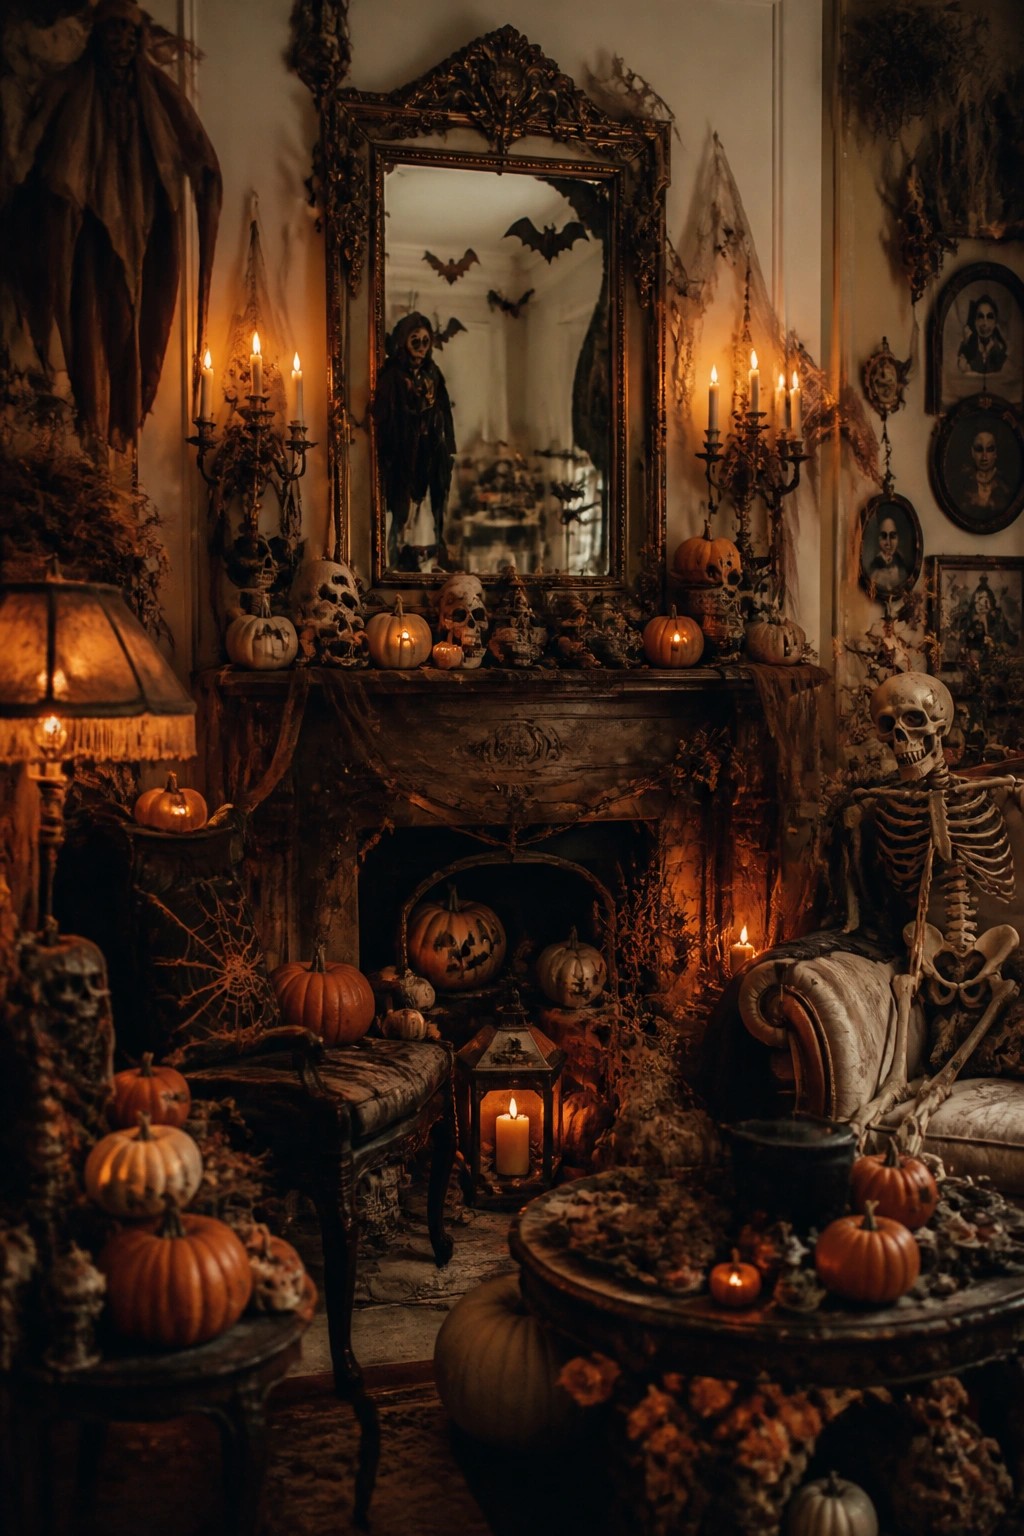
A mantel packed with skulls, small carved pumpkins, and a few bats makes one of the quickest ways to turn a living room into a Halloween scene. The dark shapes stand out against the lighter wall, and the mirror above doubles the effect without any extra work.
Start with a few larger skulls and pumpkins along the center, then tuck smaller ones and candle holders around them. Add two or three bats to the mirror frame or the wall above. Keep the rest of the room simple so the mantel stays the main focus.
Style Skulls And Skeletons On A Console
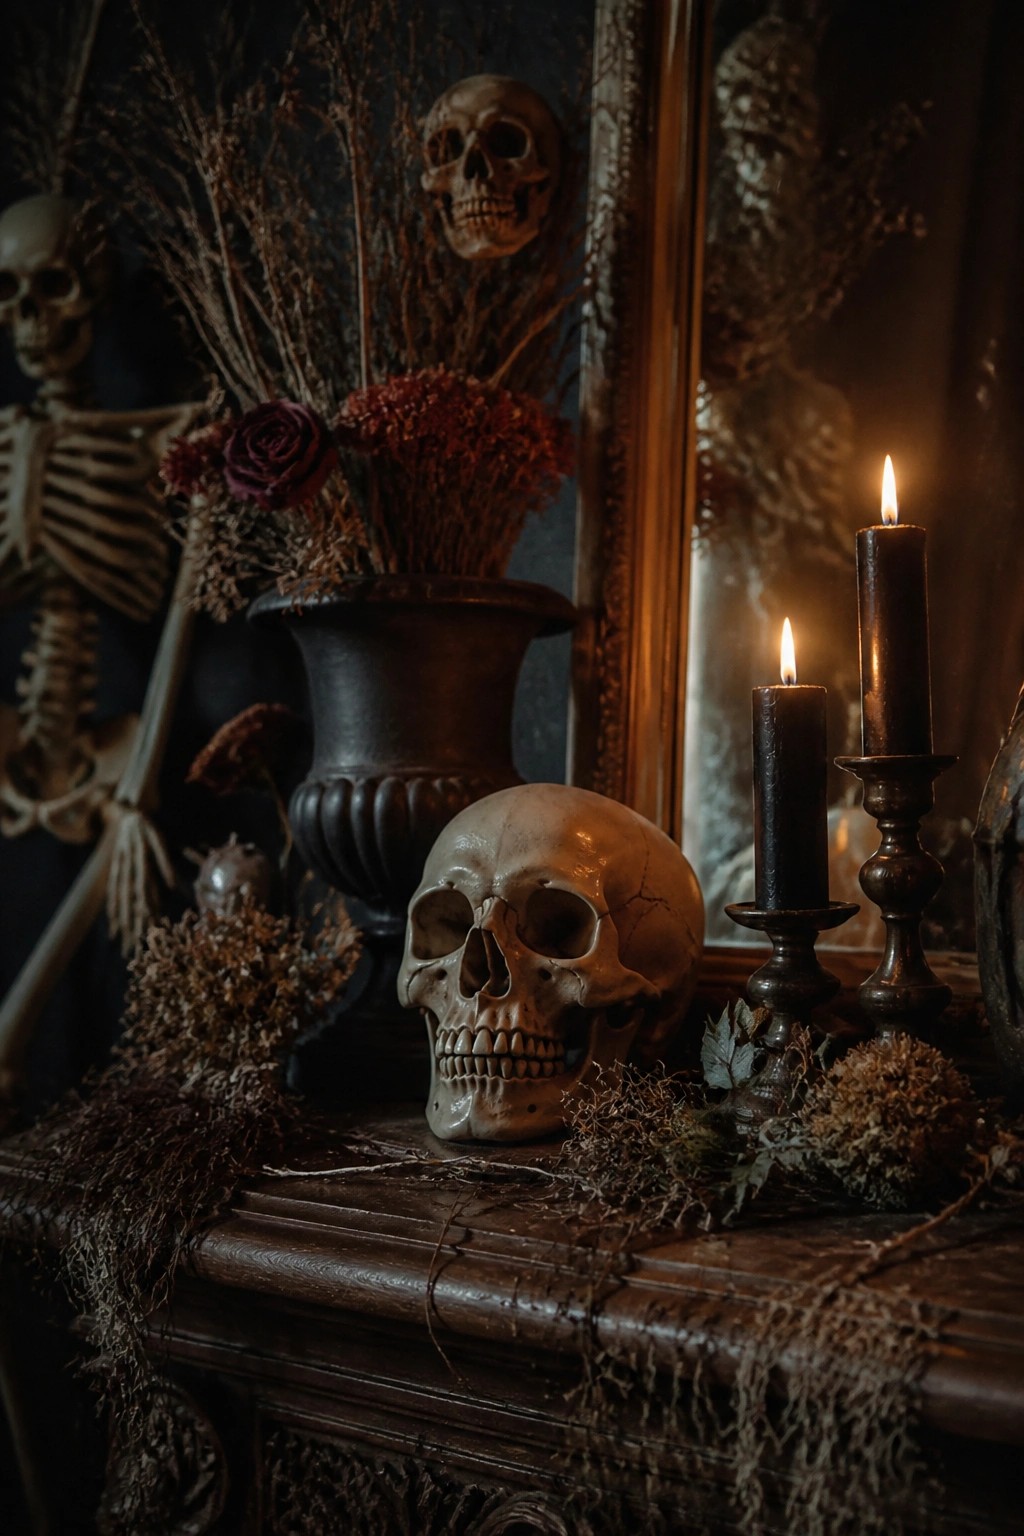
A skull placed front and center with a pair of black candles makes an immediate scary statement. The skeleton in the background adds to the effect without needing much else. This setup works because the bones stand out clearly against the dark surface and keep the focus on the Halloween theme.
Try the same idea on any console, mantel, or side table. One or two skulls plus a few black candles are usually enough. Keep extra pieces minimal so the bones remain the main feature.
Position Skeletons Around The Entry
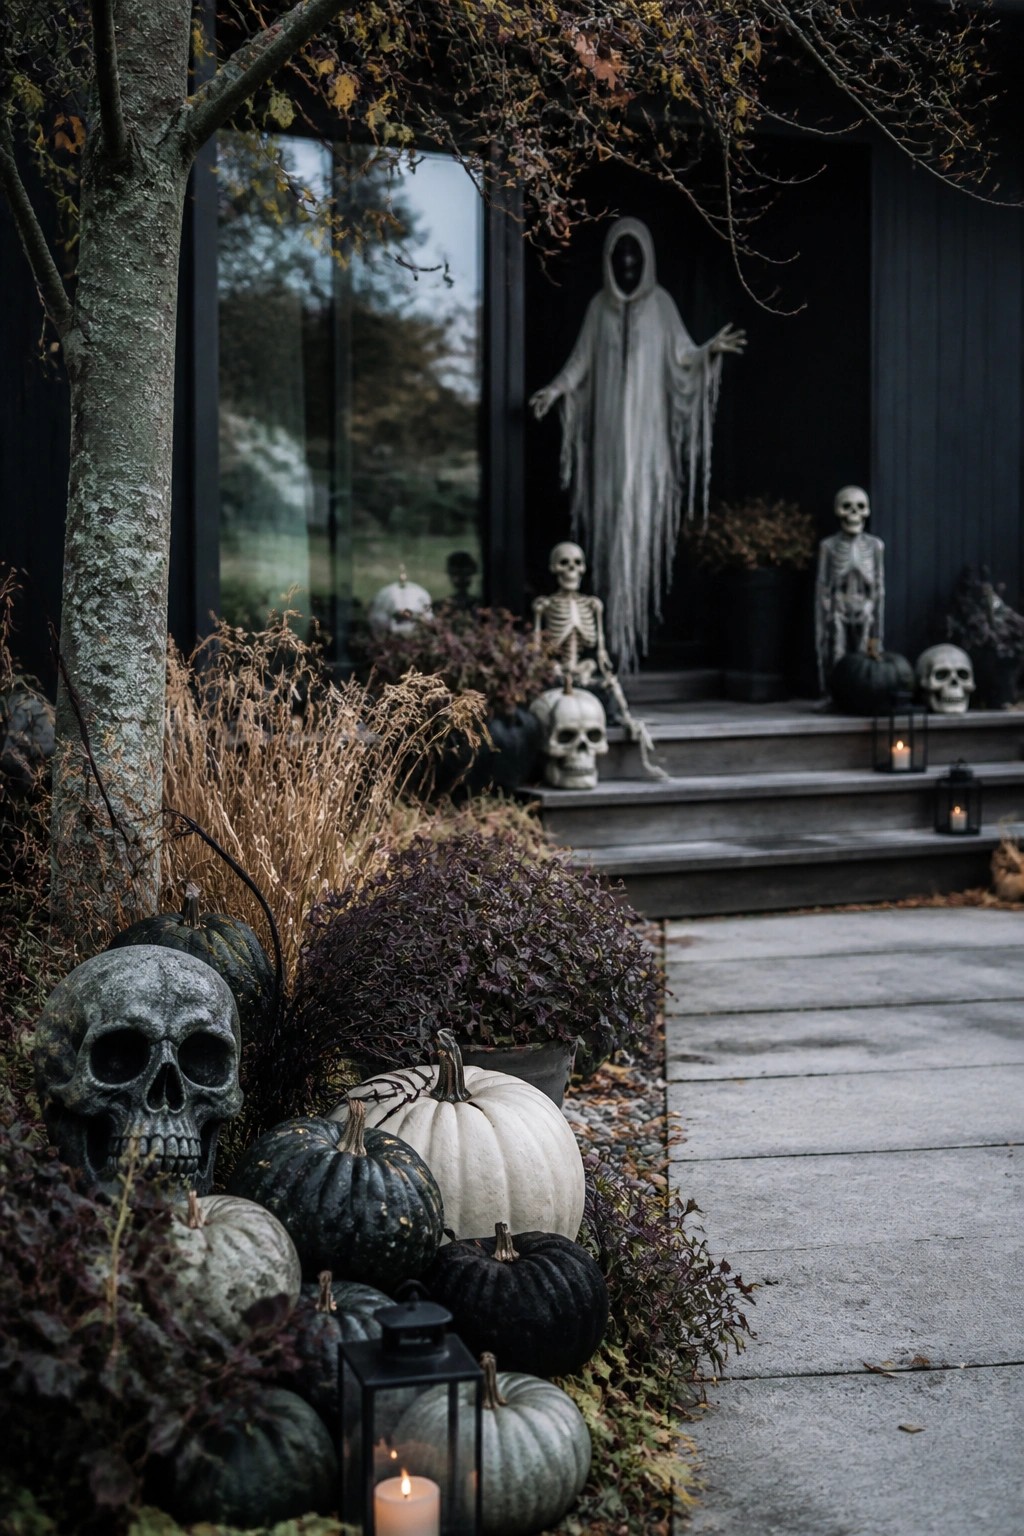
Grouping several skeletons near the front steps creates a direct and recognizable Halloween display. The tall draped figure in the doorway stands out right away, while smaller skeletons and skulls placed at different heights keep the eye moving across the scene without needing much else.
Start with one larger skeleton figure as the main piece, then add two or three smaller ones around the steps or railings. Scatter a few skulls nearby and keep any extra items like lanterns or pumpkins to a minimum so the skeletons remain the clear focus.
Pose Skeletons Across The Front Porch

Skeletons work well when you group several of them together instead of using just one. A tall standing figure in a hat creates the main focus while smaller ones in different poses add movement and make the whole setup feel more unsettling.
Start with one large skeleton near the door and place two or three smaller ones around the steps or garden beds. Keep other decorations to a minimum so the skeletons remain the clear center of attention.
Fill The Porch With Skeletons And Ghosts
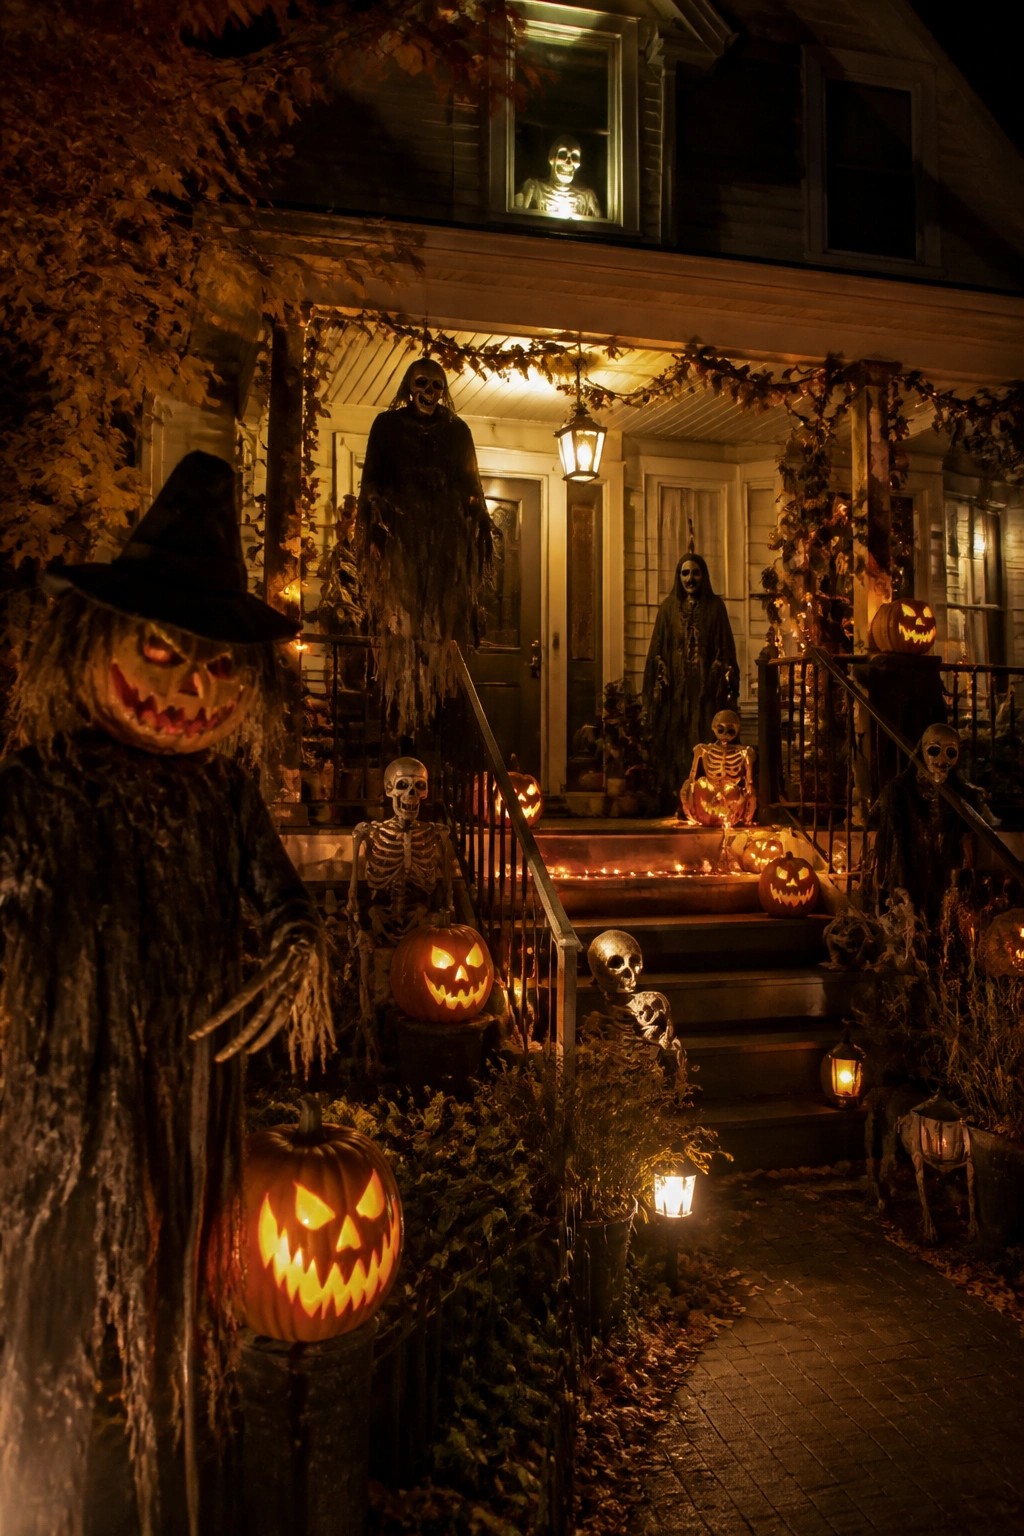
Placing several skeleton figures and draped ghosts around the porch steps and railings creates a strong scary display. The figures stand at different heights while carved pumpkins add glowing faces that make the whole setup easy to notice from the street.
Use three or four tall skeleton props along the stairs and one or two hanging ghosts near the door frame. Add a few lit pumpkins at ground level and keep other decorations to a minimum so the figures remain the clear focus.
Style A Skull As Your Table Centerpiece
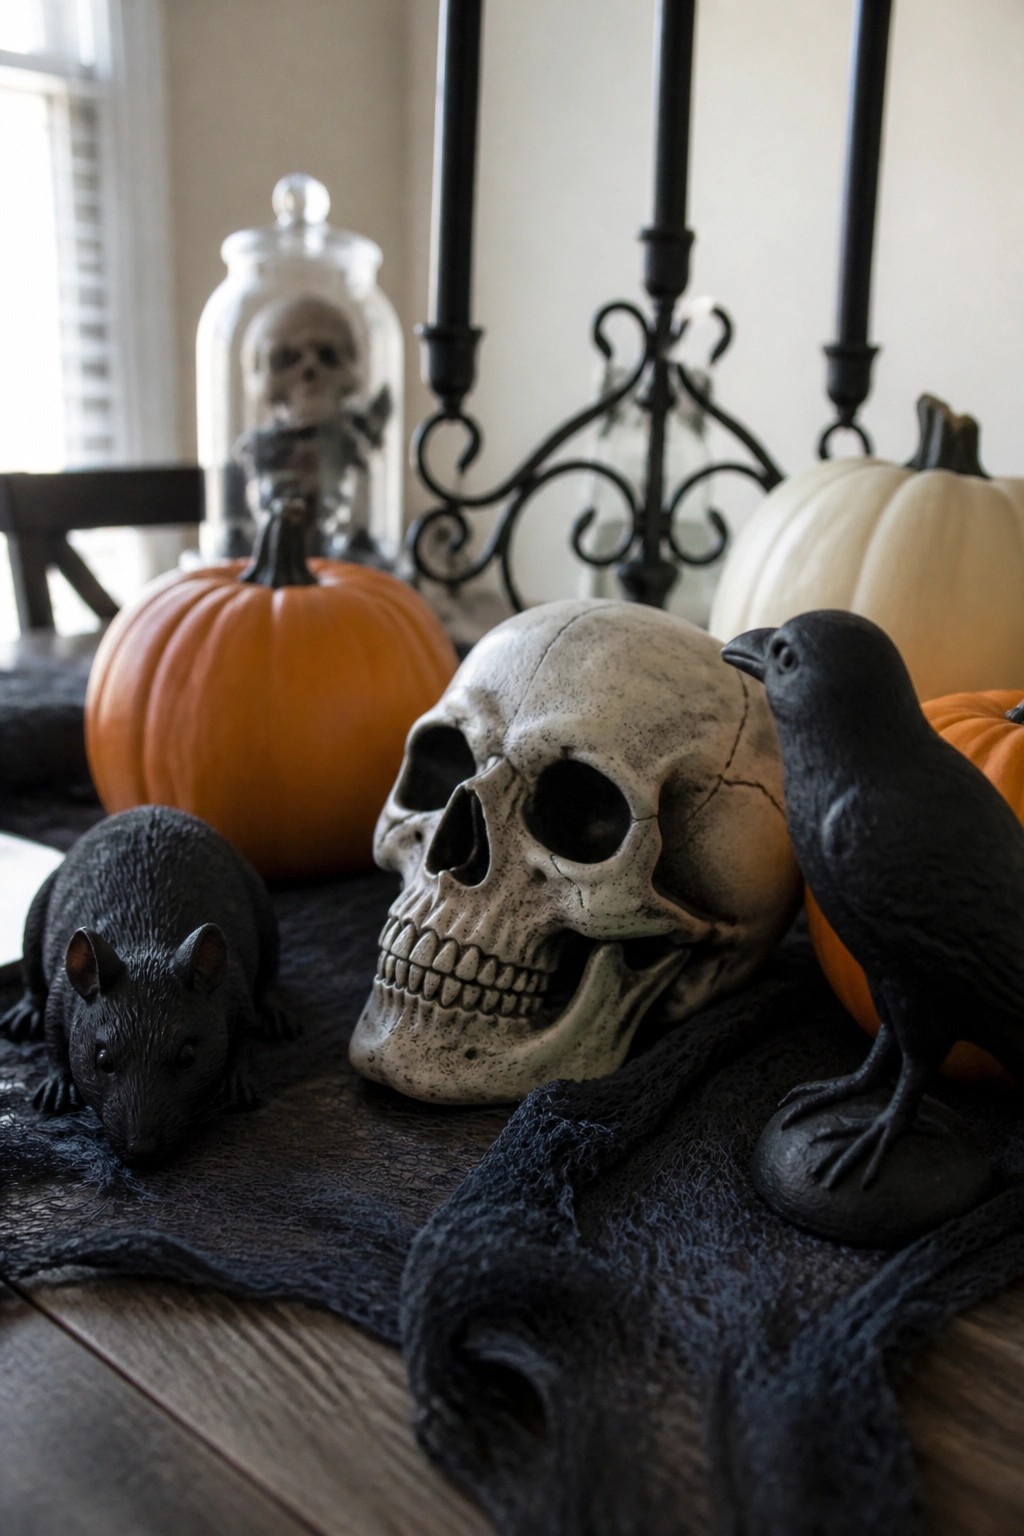
A skull placed front and center on a table instantly gives the whole setup a scary edge. It works because the shape is so recognizable and it needs almost nothing else around it to read as Halloween.
Add just a couple of black animal figures nearby, such as a rat or crow, to build the scene without crowding the surface. This approach works best on a dining table, sideboard, or any flat surface where the skull can stay the clear focus.
Position A Tall Skeleton In The Yard
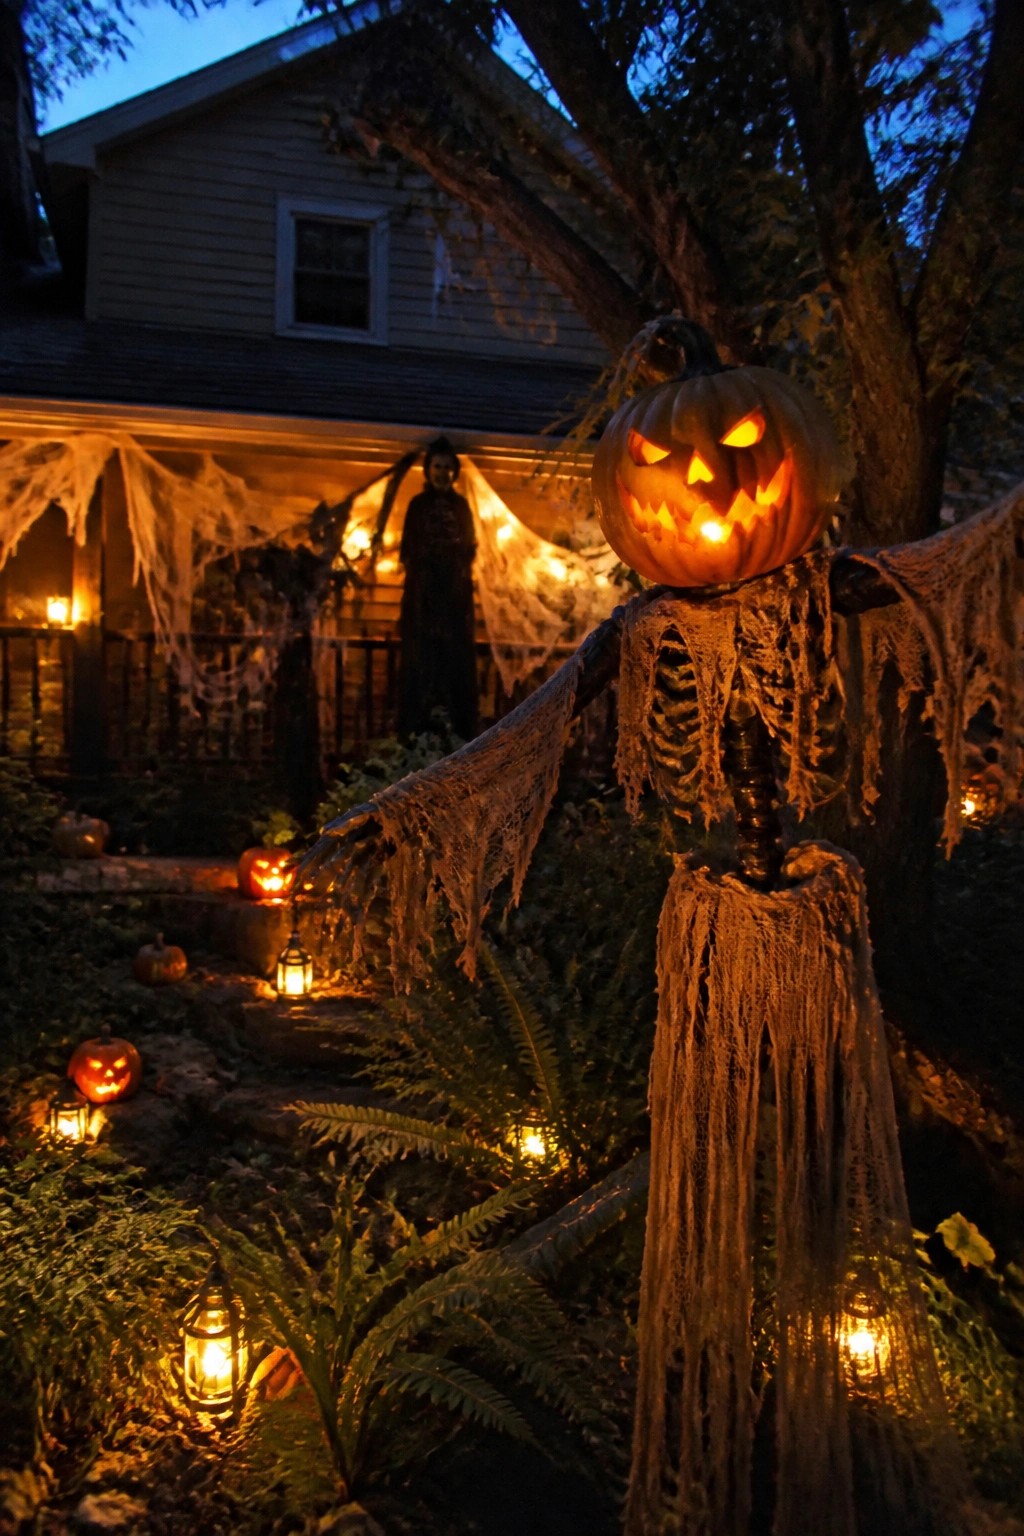
A tall skeleton figure with a carved pumpkin head makes a strong focal point along a walkway. The tattered fabric and glowing face catch attention right away, especially when paired with smaller lit pumpkins placed along the path. This setup turns an ordinary yard entrance into something visitors notice from the street.
To recreate it, start with a basic skeleton frame and attach a real or foam pumpkin on top. Add strips of old fabric or cheesecloth for the ragged look, then set it near the edge of the path so it appears to reach toward people walking by. Keep the rest of the yard simple so the skeleton stays the main feature.
Place Skeletons And Ghosts On The Porch

A porch crowded with tall skeletons and draped ghost figures makes an immediate scary impact. The carved jack o lanterns placed around the steps and pillars keep the focus on the figures while adding a warm glow that shows up well at night.
Start with one or two full-size skeletons near the entrance and add a few hanging or standing ghost shapes. Scatter lit pumpkins on the railings and ground to connect everything without filling every inch of space.
Frequently Asked Questions
Q: How do I keep the fog machine from soaking my porch floor? A: Set the machine on a tray or old towel to catch the moisture. Run it in short bursts instead of leaving it on all evening. Point the output toward the grass or a gravel area so the vapor drifts away from wood or concrete.
Q: What if my pets get spooked by the moving props? A: Place the animatronic pieces up high or behind barriers so dogs and cats cannot reach the motors. Test each decoration with your pets nearby during the day first. Swap in static items like carved pumpkins if any animal shows real fear.
Q: How do I store the bigger decorations without filling my whole garage? A: Break down folding tombstones and stack them flat against a wall. Hang lighter pieces from ceiling hooks to free up floor space. Label one bin for the small parts so nothing gets lost by next fall.
Like this? Get more outfit ideas and dating tips by email.